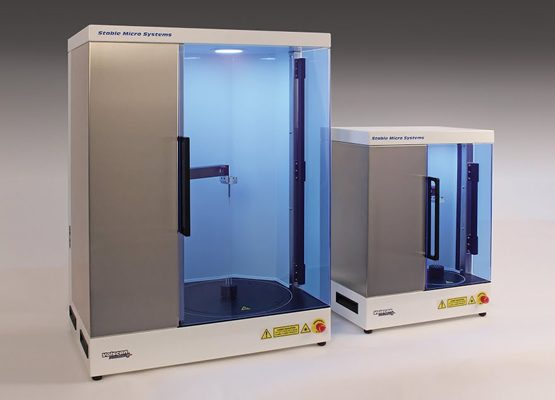
PRODUCT DETAILS
This non-contact measurement system offers considerable advantages over contact and displacement techniques which purely measure volume.
The rapid 3-dimensional digitisation of products enables the automatic calculation of several detailed dimension related parameters, the results of which may be mathematically manipulated for immediate use or future retrieval in a variety of data formats.
With the Volscan Profiler, manufacturers have a precise and fast method for the measurement of the volume, density and dimensions of solid products in order to be able to control and monitor their manufacture.
How the instrument works
The product is speared at each end or located by a suitable mounting device tailored to the specific product. Parameters for each batch under test, which are entered into the software by the operator, include: sample ID name and date. The product is then automatically weighed and an eye-safe laser device is used to scan vertically to measure the contours of the product at selectable intervals whilst it rotates.
Each interval consists of 400 data points providing a detailed profile of the product. This assessment can be done rapidly, the results being obtained in a period ranging from a few seconds to a few minutes depending upon the chosen interval (0.05mm to 50mm) and the preferred precision. Temperature of the testing chamber can be measured automatically.
A full guide is available in Help File format to assist in setting up and performing tests, explaining the calculations and advising on optimum test settings to suit your product.
An instrument of this nature is a long-term investment. You’ll therefore want to make sure that its application is as universal as possible. Whilst your initial application requirements might be obvious you’ll want to make sure that your instrument can be applied to as wide a range of products as possible. Make sure you get the most value-added, feature rich instrument for your money to take your laboratory needs well into the future!
REQUEST FORM
CONTACT US
You can contact our ABP sales engineers for detailed information about our products.
ABP from 1985 to the present;
It represents world-leading brands and is the leading company for the technology needs of the Grain, Flour, Food, Feed industry.

